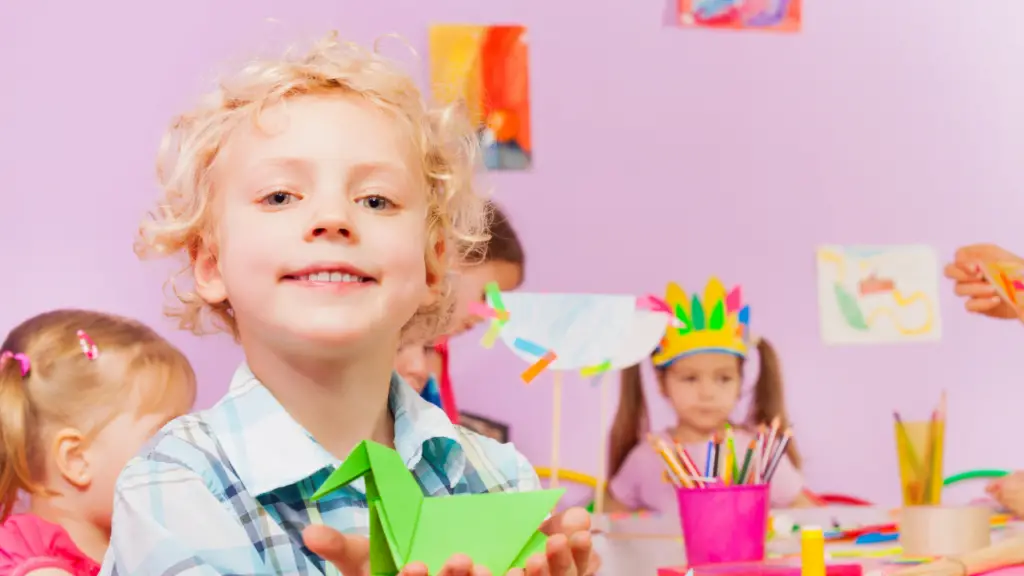
When it comes to finding activities for siblings to engage in at home, you can’t go wrong with Easy Arts and Crafts for Siblings to do at Home. Not only are they fun and engaging, but they also offer a chance to ignite the creativity and build lasting bonds.
Some of the links in this post are affiliate links. This means if you click on the link and purchase the item, I will receive an affiliate commision at no extra cost to you. All opinions remain my own. Read more on our Privacy Policy Page
The Power of Crafting at Home
Easy arts and crafts for siblings to do at home are more than just entertainment. They are a form of expression and a powerful tool for bonding. They foster teamwork, collaboration, and provide an opportunity for siblings to learn from each other.
Crafting at home nurtures creativity, helps develop problem-solving skills, and offers a platform for innovation. By crafting together, siblings can create shared memories and build a stronger bond.
In a world where screens often dominate, easy arts and crafts offer a hands-on, engaging, and interactive experience. It’s an opportunity for siblings to create, connect, and most importantly, have fun!
So why wait? Set up your home crafting station and let the creativity begin. Whether it’s handprint art, origami, DIY puppet theater, or beaded jewelry, there’s a whole world of easy arts and crafts for siblings to do at home. Now go and create some fantastic sibling masterpieces!
The Magic of Arts and Crafts at Home
Crafting is more than just a pastime. It’s a journey into the world of creativity where imagination rules, and the only limit is the sky. Home-based arts and crafts provide an ideal environment for siblings to communicate, collaborate, and connect. So, let’s dive in and uncover the potential of easy arts and crafts for siblings to do at home.
👉>>>Check on AMAZON – Art & Crafts For kids!
10 Easy Arts and Crafts for Siblings to do at Home
1. Handprint Art
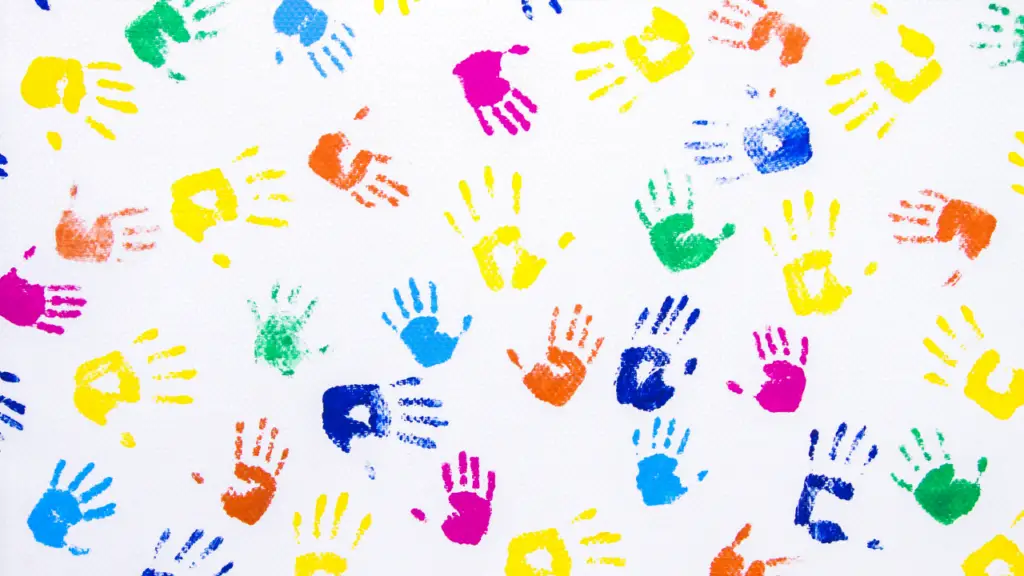
The Colorful World of Handprint Art
Handprint Art is a simple and engaging craft that holds a unique charm. It’s an easy arts and crafts activity for siblings to do at home that brings joy, creativity, and lasting memories.
Handprint art begins with a simple premise: using the hand as a stamp to create images on a surface, typically paper. The handprint becomes a personal touch, an authentic signature of the child’s presence in the artwork. However, this simple beginning can be a stepping stone into a world of creativity and innovation.
Gathering Your Materials
The beauty of handprint art lies in its simplicity. The materials required are minimal. All you need are some non-toxic paints, a variety of paintbrushes (for adding details later), paper (construction or canvas work best), and a pair of eager hands ready to dive into the world of color.
You may also want to have some wet wipes or a small towel nearby for quick cleanups between prints.
Setting the Stage for Creativity
When setting up your handprint art station at home, make sure to cover your work area with old newspapers or a tablecloth, as things can get a little messy. Pour different colors of paint into shallow plates, wide enough for the children’s hands to fit.
Diving into the Artwork
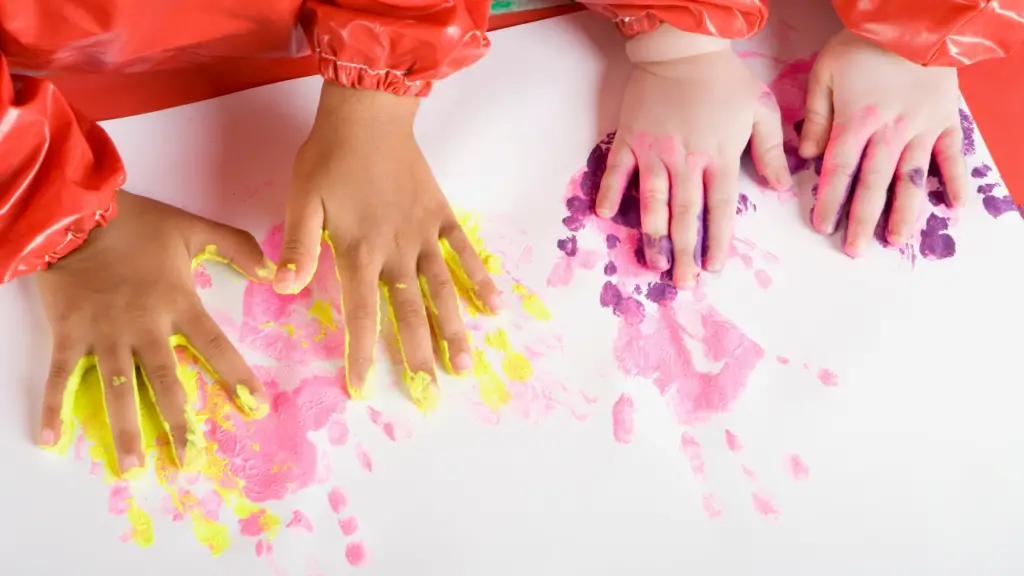
Now comes the fun part: creating the handprint art! Each child dips a hand into the paint, ensuring the entire hand is covered. Then, they firmly press their hand onto the paper, leaving behind a colorful imprint.
But the fun doesn’t end here. Once the handprints dry, they transform into a canvas for the imagination. The handprints can become the leaves of a tree, petals of a flower, or even exotic animals. The possibilities are endless!
Creating a Collective Masterpiece
One of the best aspects of handprint art is that it’s ideal for siblings. They can each use different colors and contribute to a single piece of art, creating a collective masterpiece. It’s a beautiful depiction of unity in diversity, as each colorful handprint retains its individuality yet contributes to a bigger picture.
More than Just an Art Project
Handprint art is more than just an arts and crafts project. It’s a snapshot in time, capturing the child’s hand size at a specific age. As such, it becomes a cherished keepsake for parents and children alike.
In a nutshell, handprint art is a delightful, easy art project for siblings to do at home. It encourages creativity, togetherness, and fun, creating not just vibrant artwork, but also beautiful memories. So roll up those sleeves, dip those hands in paint, and let the colorful adventure begin!
2. Homemade Playdough
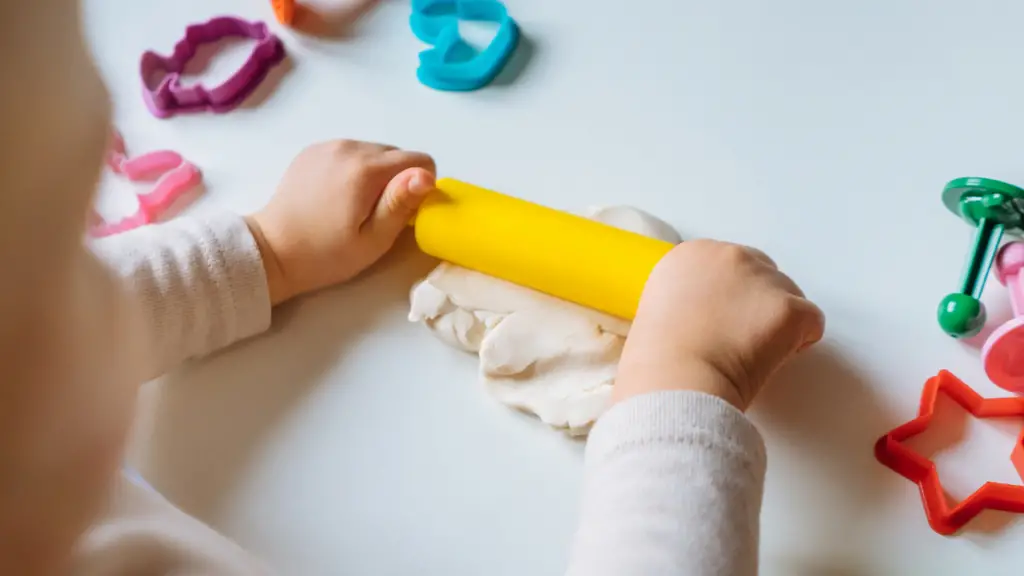
Making homemade playdough is a popular activity that serves as an excellent choice for easy arts and crafts for siblings to do at home. This activity not only sparks creativity but also encourages tactile learning and sensory play. It’s an art project, science experiment, and play session all rolled into one.
What You’ll Need
The ingredients needed for homemade playdough are basic pantry items, which makes it convenient to whip up a batch whenever the creative urge strikes. You’ll need:
- 2 cups of all-purpose flour
- 3/4 cup of salt
- 4 teaspoons of cream of tartar
- 2 tablespoons of vegetable oil
- 2 cups of warm water
- Food coloring (optional)
The Making Process
The process of making homemade playdough is simple and involves stirring together the dry ingredients in a large pot, then adding in the oil and water. The mixture is cooked over low heat, stirred continuously until it forms into a ball.
Once the dough has cooled, it’s time for the most exciting part – customization. Siblings can choose their favorite colors and knead drops of food coloring into the dough until it’s uniformly colored.
Exploring with Homemade Playdough
With the homemade playdough ready, siblings can now let their creativity run wild. They can shape and mold the dough into various forms – animals, flowers, cars, imaginary creatures, and more. Tools like cookie cutters, rolling pins, and plastic knives can be used to enhance their creations.
Beyond the obvious creative exploration, playing with playdough also supports learning in several ways. It helps develop fine motor skills as children knead, roll, and shape the dough. It also fosters critical thinking and problem-solving skills as they figure out how to create certain shapes or structures.

A Memorable and Learning Experience
One of the advantages of this easy art and craft activity for siblings to do at home is that it can be a joint effort. Older siblings can help younger ones measure and stir the ingredients. They can also guide them during the molding process, showing them how to create different shapes and objects.
Making homemade playdough offers siblings a fun, hands-on experience. It stimulates their senses, enhances their creativity, and provides an excellent opportunity for them to interact, cooperate, and learn from each other. It’s a testament to the fact that some of the most engaging learning activities are often the simplest ones.
So, the next time you’re looking for an easy and exciting arts and crafts activity for siblings to do at home, consider making homemade playdough. It’s a world of color, creativity, and endless fun rolled into one.
👉>>>Check on AMAZON – Art & Crafts For kids!
3. Origami
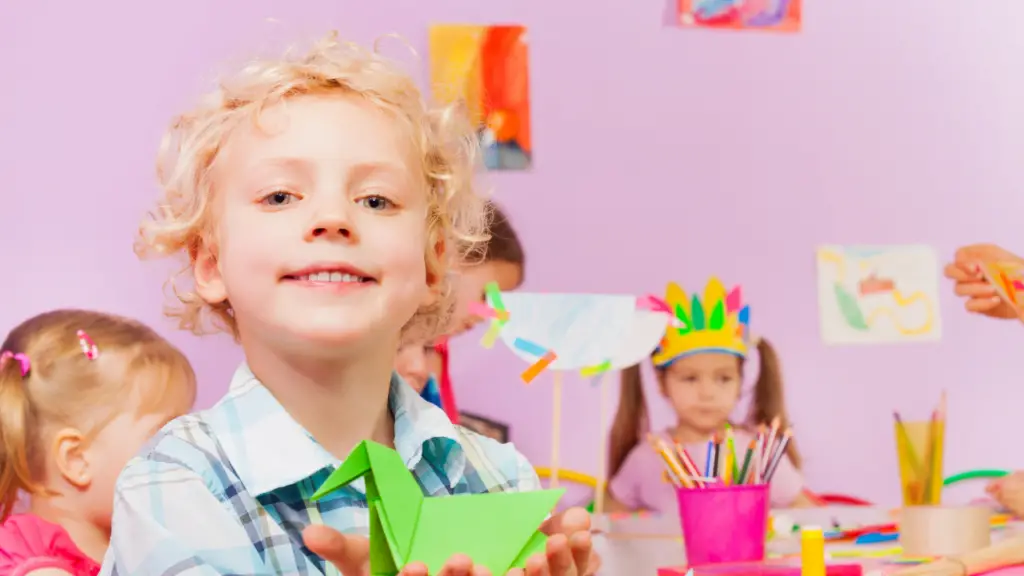
Paper Folding Fun: An Origami Adventure at Home
Immerse your siblings in the ancient Japanese tradition of origami, an activity that melds creativity with precision and intellect. This paper folding craft turns the ordinary into extraordinary, transforming a simple square of paper into a myriad of shapes and figures.
Crafting Essentials: Just Paper and Imagination
What makes origami truly remarkable is its simplicity. Your crafting supplies list has just one item – a flat piece of paper. The lack of additional accessories, like scissors, glue or paint, makes origami a clean and fuss-free activity for the home.
Embarking on the Origami Journey
In the land of origami, there’s a project for everyone. Novices can start their paper folding journey with basic figures such as boats, hats or simple birds. As they grow more confident in their folding techniques, they can tackle more intricate designs, like cranes, dragons, or flowers.
Plenty of resources, from guidebooks to online video tutorials, are available to help siblings learn the art of origami. These step-by-step instructions guide them in bending, folding and creasing their paper until it takes the shape of a 3D object.
Sibling Collaboration in Origami
Origami lends itself beautifully to cooperative activities between siblings. They can each work on their own origami pieces, or join together for a modular origami project. These are larger structures made up of individual origami units, allowing siblings to learn the value of teamwork as they create something magnificent together.
In this shared crafting experience, older siblings can lend a helping hand to the younger ones in understanding the folding process. Meanwhile, the younger ones might surprise everyone with their innovative origami ideas.
Origami: Beyond a Craft Activity
Origami is far more than a craft project; it’s a learning tool in disguise. The process of origami folding fosters spatial understanding, sequence learning and problem-solving skills. It also brings geometric concepts to life, all while improving concentration and hand-eye coordination.
Folding origami can also be a soothing activity. It calms the mind, reduces stress, and offers a sense of accomplishment when a piece of paper is transformed into a beautiful figure.
Start Folding, Start Creating
With origami, a piece of paper isn’t just a piece of paper; it’s a ticket to a world of creativity. From a basic paper plane to a complex origami dragon, siblings can bond, boost their creativity and have fun together.
So why wait? Grab some paper and let the origami adventure begin. In the realm of paper folding, the possibilities are truly limitless. Explore them all and discover the joy of origami.
4. DIY Puppet Theater
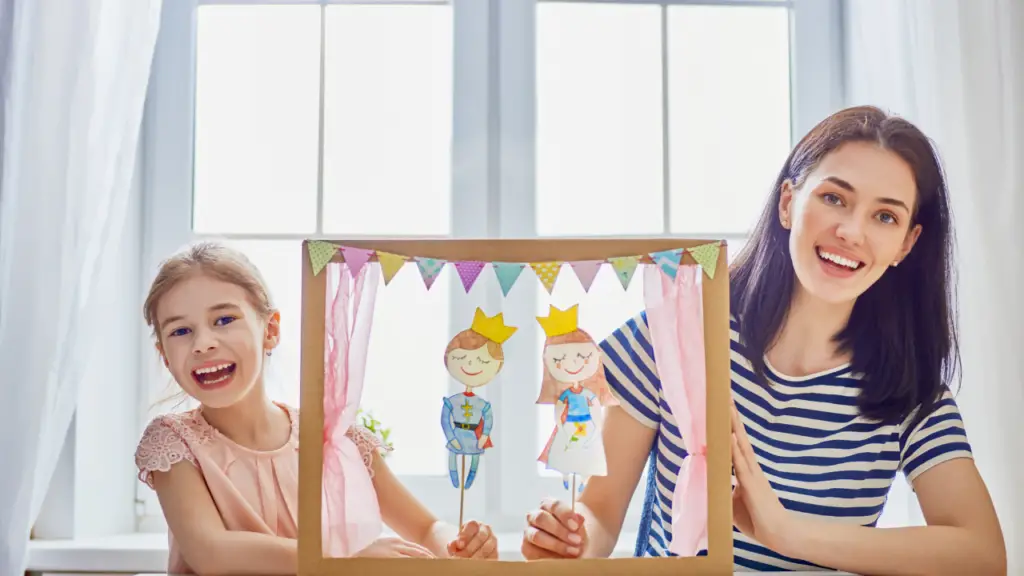
Bringing Stories to Life: Creating a Homemade Puppet Theater
Constructing a homemade puppet theater is an exciting and interactive project for siblings. This DIY activity serves as a catalyst for creativity, imagination, and endless hours of fun.
What You’ll Need for Your Puppet Theater
The materials needed for a basic puppet theater are:
- A spacious cardboard box (Consider using a packing or appliance box)
- Paints and brushes for decoration
- Fabric to serve as curtains
- A dowel or stick to hold the curtains
- Essential tools such as glue and scissors
Step-by-Step: Building the Theater
This DIY project can be broken down into two main phases. The initial stage involves constructing the theater itself, followed by designing the puppet characters for the performances.
- Set your box upright. Carve a large square or rectangle on one side to create the stage opening. Retain the bottom portion of the box as the stage floor.
- Unleash your artistic side as you paint the box. Add captivating designs or patterns to make your theater vibrant and eye-catching.
- Cut your fabric to a size that’s double the width of the stage opening. Secure it onto a dowel or stick, and then mount this above the opening to create a curtain.
- Optional enhancements include a signboard with the theater’s name or lights to illuminate the stage opening.
Puppet Crafting: Creating the Characters
Puppets can be crafted using everyday materials such as old socks, wooden spoons, or craft sticks. Embellish them with features like googly eyes, yarn hair, and clothes made from fabric scraps. Use markers or paint to give each puppet a distinctive look.
It’s Showtime!
Once the puppet theater is set up, the siblings can let their imaginations run wild. They can come up with original stories, scripts, and even design tickets for the family members who will be the audience. This not only encourages creativity but also promotes confidence as siblings learn to perform and express themselves.
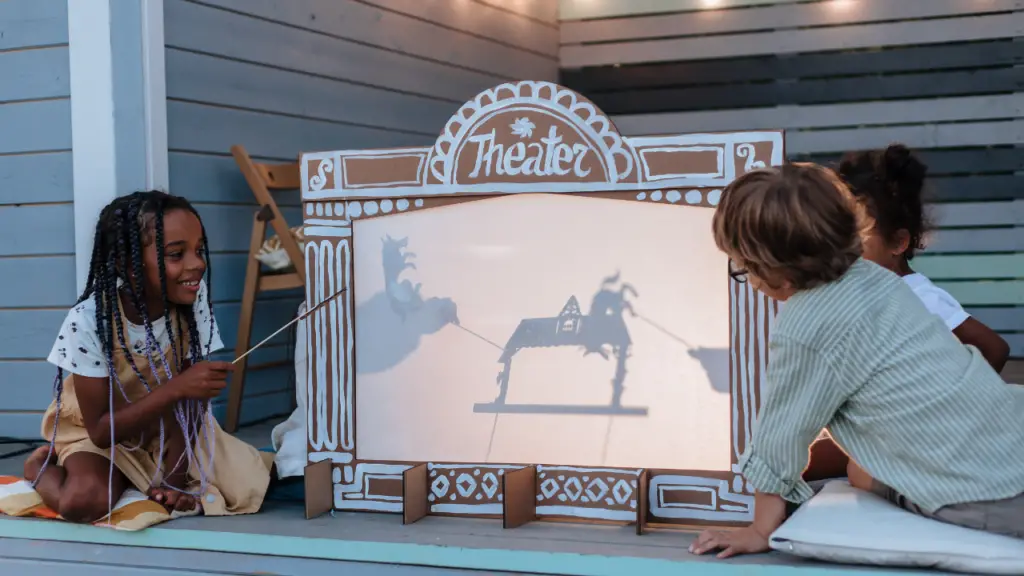
Beyond Building: The Benefits of a Puppet Theater
The joy of this activity extends well beyond the building process. The real fun begins when the theater is ready, and siblings start to invent puppet characters, write engaging stories, and stage performances. This DIY Puppet Theater becomes a constant source of entertainment and shared enjoyment.
The puppet theater project is not just an engaging activity but also a tool for developing vital skills. As they work together to create and perform, siblings cultivate storytelling abilities, creativity, teamwork, and even public speaking.
Don’t hesitate – gather your materials and step into the magical world of puppetry. Your homemade puppet theater is waiting to light up your home with entertainment and creativity!
👉>>>Check on AMAZON – Art & Crafts For kids!
5. Beaded Jewelry
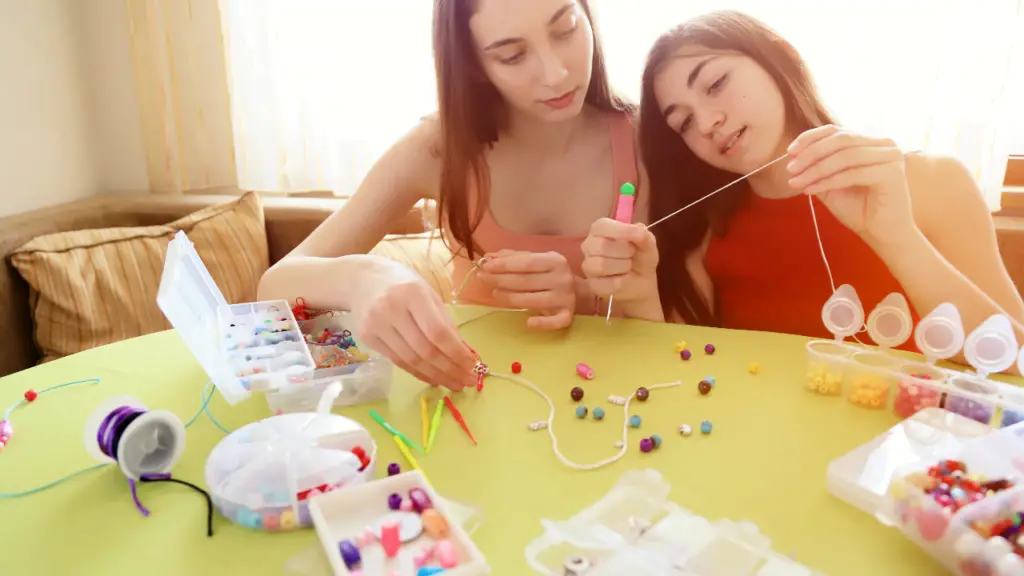
Crafting Treasures: Beaded Jewelry Adventures at Home
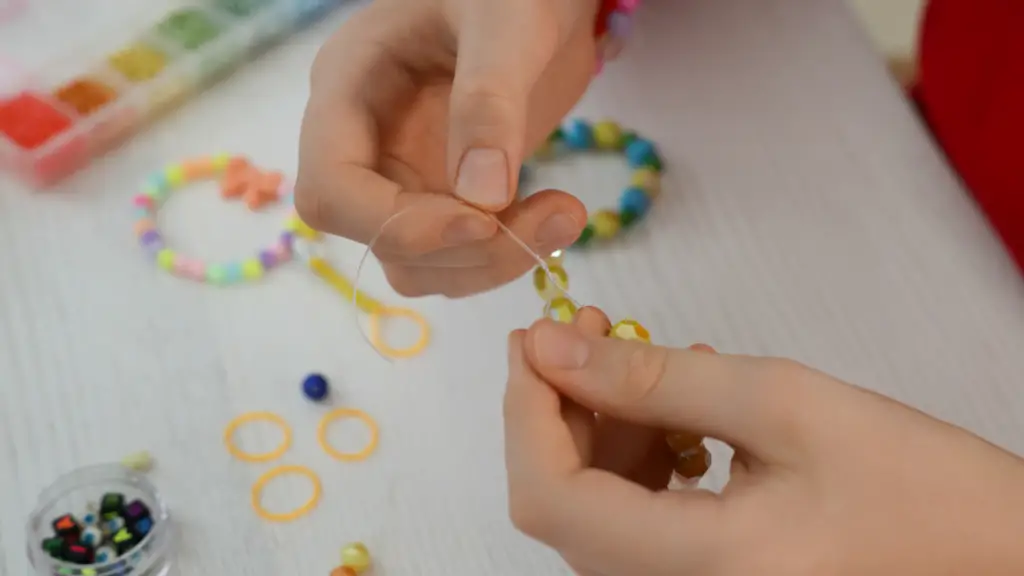
Diving into the world of beaded jewelry creation is a rewarding and exciting journey for siblings to embark on at home. Not only does it cultivate creativity and fine motor skills, but it also results in beautiful, personalized trinkets that they can wear, share or gift.
Tools of the Trade: Beading Supplies
The primary requirements for this craft are assorted beads and some form of stringing material. The bead selection can include different sizes, colors, and shapes to provide variety and inspire creativity. Stringing materials can range from elastic cords to fishing lines, depending on the design and durability required.
Let the Beading Begin: Starting Your Project
Creating beaded jewelry starts with a design concept. Siblings can sketch out their ideas or brainstorm together, discussing color combinations and patterns. They could decide to create matching bracelets, contrasting necklaces, or even themed jewelry pieces that tell a story.
Next comes stringing the beads, which can be a meditative process. Siblings can chat, tell stories or listen to music as they thread their chosen beads onto their cords, watching their designs come to life one bead at a time.
From Craft Table to Fashion Show: Showcasing the Creations
Once the beaded jewelry pieces are complete, it’s time for the grand reveal. Siblings can host a mini fashion show at home, modeling their creations for family members. Not only does this inject fun into the process, but it also builds a sense of achievement and pride in their handmade accessories.
Treasure Trove of Skills: Learning Beyond the Beads
Creating beaded jewelry isn’t merely about producing pretty accessories. It’s a hands-on activity that fosters numerous skills. It promotes creativity, patience, and fine motor skills as siblings select beads, plan patterns, and thread each bead onto the cord. It also enhances their decision-making abilities as they choose designs, colors, and materials.
Plus, the process encourages social skills and collaboration if siblings work together to design their pieces or share materials and ideas. They’ll learn about negotiation, compromise, and cooperation, valuable skills that extend well beyond the craft table.
A World of Creativity at Their Fingertips
The art of creating beaded jewelry opens up a world of creativity for siblings at home. It’s an engaging craft that allows for a great deal of personal expression, collaboration, and a satisfying end result. With a stash of colorful beads, a length of cord, and a wellspring of imagination, siblings can create not just jewelry, but cherished memories of fun and creativity.
6. Painted Rocks
Unearthing Artistry: The Joy of Painted Rocks
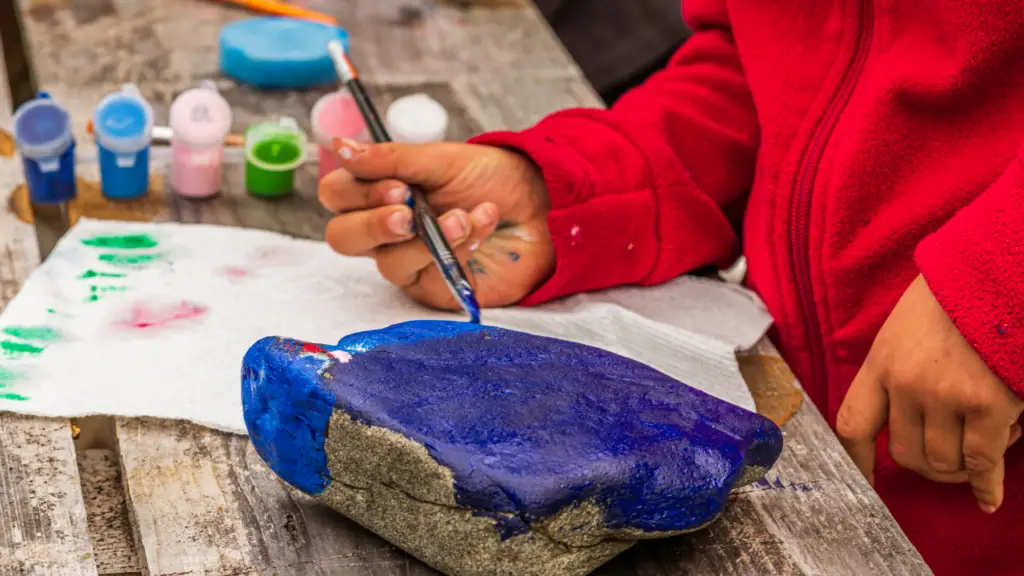
The simplicity and charm of painted rocks make it a delightful arts and crafts project for siblings at home. It combines the thrill of a treasure hunt with the pleasure of creating unique, miniature works of art that can be used for play, decoration, or gifting.
Gather Your Supplies: What You’ll Need
For this creative journey, you need:
- Smooth, flat rocks
- Acrylic paints
- Paintbrushes
- A cup of water and a cloth for cleaning brushes
- Optional: Mod Podge or a clear spray sealer for a glossy finish
Setting the Stage: The Rock Hunt
The fun begins even before the painting starts, with a rock hunt. Encourage siblings to explore your yard, local parks, or even the beach for smooth, flat rocks that will make perfect ‘canvases’ for their designs. This adds an element of adventure to the craft and promotes outdoor play.
Creativity Unleashed: Painting the Rocks
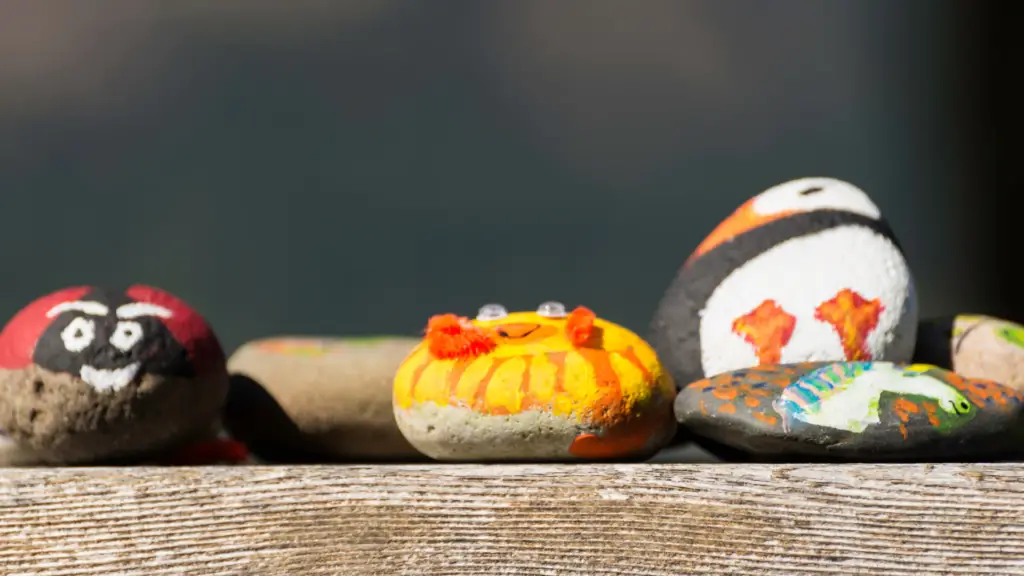
Once the rocks are cleaned and dried, it’s time to paint. Siblings can draw simple patterns, create abstract designs, or paint miniature scenes. They can personalize their rocks, using their favorite colors and motifs. And, of course, they can help each other, sharing ideas, colors, and compliments.
The Masterpiece Display: Showcasing the Painted Rocks
After the painted rocks have dried, siblings can decide how to display or use their art. They might want to create a rock garden, use them as paperweights, or hide them around the house for a fun scavenger hunt. They could also consider participating in the ‘Kindness Rocks’ movement, leaving their painted rocks in public places for others to find and enjoy.
From Fun to Functional: The Benefits of Painted Rocks
Painted rocks may be a simple craft, but they provide numerous benefits. They encourage creativity as siblings experiment with different designs and colors. They help develop fine motor skills as children manipulate the brushes and paints.
The process also teaches patience as each layer of paint needs to dry before the next is applied. If siblings work together on their designs or share their painted rocks with others, they’re also learning about collaboration, generosity, and the joy of bringing happiness to others.
Crafty Memories: The Lasting Impact of Painted Rocks
Engaging in the activity of painting rocks can be a memorable experience for siblings. They’re not just creating unique pieces of art; they’re building bonds, making memories, and gaining skills that extend beyond the craft table.
So, grab some rocks, get out your paints, and dive into a world of color and creativity. Your painted rocks might just be the start of a new family tradition!
7. Collage Art

A Symphony of Images: Exploring Collage Art at Home
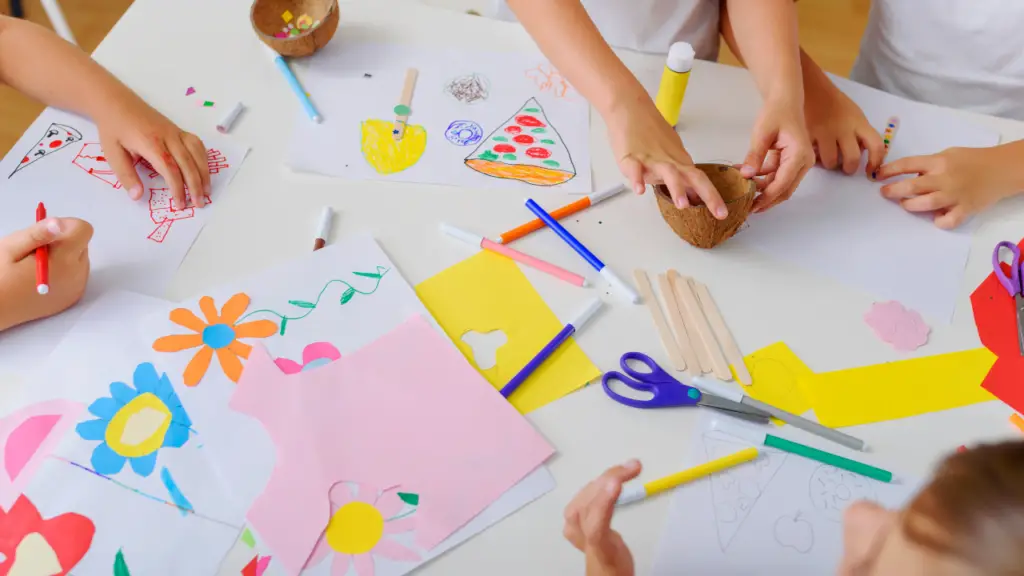
Collage art is an ideal arts and crafts project for siblings, as it allows them to delve into their imaginations and assemble unique, dynamic pieces. This artistic activity promotes resourcefulness, collaboration, and creativity, resulting in one-of-a-kind artwork.
Gathering Your Artistic Arsenal: Collage Supplies
Collage art begins with gathering an assortment of materials. Here’s what you’ll need:
- A variety of magazines, newspapers, or scrapbook paper
- Photos or printed images (optional)
- Glue stick or liquid glue
- A base (such as poster board, cardboard, or a canvas)
- Scissors
Starting the Creative Process: Brainstorming and Planning
Before they start snipping away, siblings should decide on a theme or concept for their collage. It could be something like a family vacation, favorite animals, space exploration, or abstract patterns. They can sketch out a rough plan on their base material or just let the collage evolve organically.
Cut, Paste, Create: Assembling the Collage
Once they’ve gathered their materials and decided on a theme, the real fun begins. Siblings can flip through their collected materials, cutting out images, words, or patterns that catch their eye.
They then arrange and rearrange these pieces on their base until they’re satisfied with the layout. Glue secures each piece in place, gradually building up a complex, layered artwork that’s a feast for the eyes.
Showcasing the Artwork: Displaying the Collage
Once the collage is complete, it’s time for a grand reveal. Siblings can display their collage at home, sharing their vision with family members. They could also take a photo and share it with friends or online art communities, opening up a broader audience to appreciate their creativity.
More Than Just Cutting and Pasting: The Skills Behind Collage Art
Creating collage art offers more than just an enjoyable crafting session. It enhances fine motor skills as siblings cut and arrange the collage pieces. It develops spatial awareness and composition skills as they decide where each piece fits best.
The activity encourages decision-making and problem-solving skills, and if siblings collaborate on a shared collage, it also promotes teamwork and negotiation.
Memories in the Making: The Lasting Value of Collage Art
The joy of collage art lies not just in the end product, but in the process of creation. The shared experience of crafting, the exchange of ideas, and the pride in their collaborative effort are invaluable.
Collage art creates a visual record of these moments, a personal piece of art that siblings can look back on fondly. So, gather those magazines, fetch the glue, and let the collage adventure begin!
8. Salt Dough Ornaments
Creating Memories: The Magic of Salt Dough Ornaments
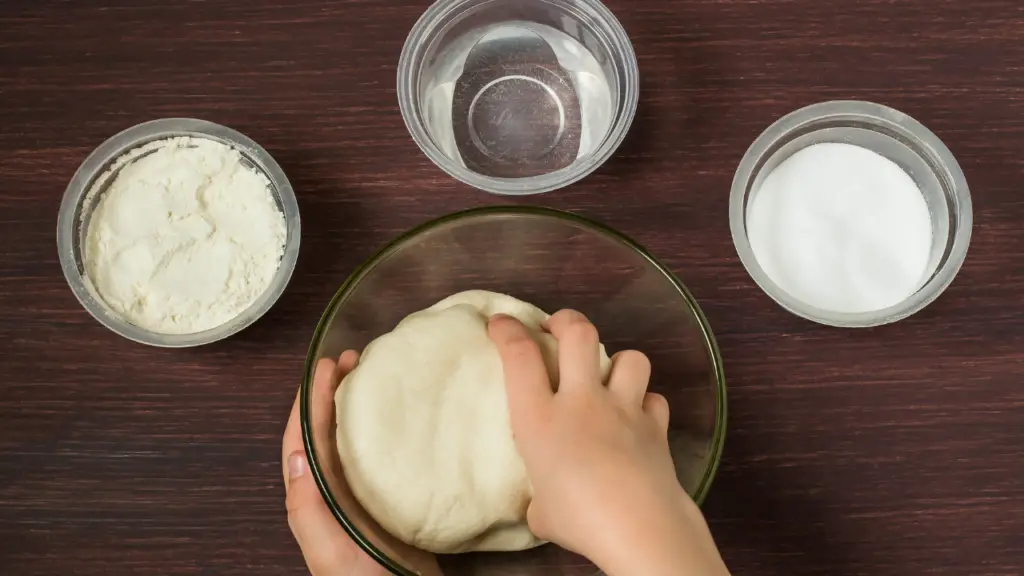
Salt dough ornaments are a timeless and delightful craft that siblings can enjoy at home. They’re easy, versatile, and can be a great way to create unique decorations or keepsakes. Plus, making them is just as much fun as displaying the final product.
Ingredients for Fun: Preparing the Salt Dough
To make salt dough, you only need three household ingredients:
- 1 cup of salt
- 2 cups of flour
- Up to 1 cup of water
Simply mix the salt and flour, then gradually add water until you get a dough-like consistency. It should be malleable, but not sticky.
The Shape of Joy: Crafting Your Ornaments
Once the dough is ready, it’s time for siblings to unleash their creativity. They can roll out the dough and use cookie cutters to create shapes, or hand-model their creations. This could include traditional ornaments like stars and hearts, or more personalized items like handprints or characters from their favorite stories.
Don’t forget to make a hole with a straw if you plan to hang these as ornaments!
A Touch of Color: Decorating the Ornaments
After the ornaments are shaped, they need to be baked at a low temperature (around 200 degrees Fahrenheit) for several hours until they’re fully dried out. Once cooled, they’re ready for decoration.
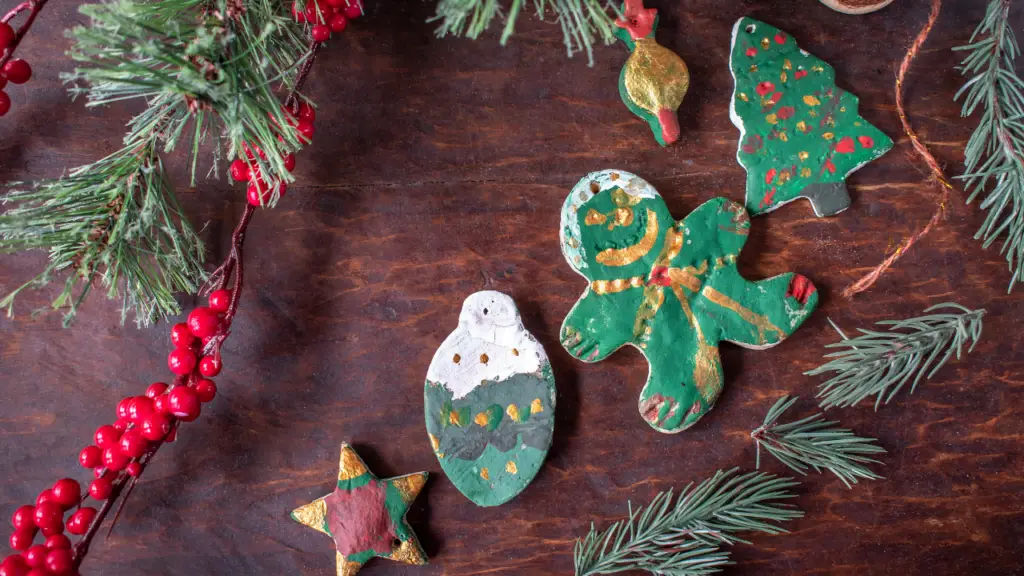
Siblings can use acrylic paints, glitter, and even permanent markers to give their salt dough creations life. They can collaborate on designs, or each work on their own pieces, coming together at the end to admire their collective work.
Displaying the Creativity: Showcasing the Salt Dough Ornaments
The completed salt dough ornaments can be used in numerous ways. They can decorate a Christmas tree, hang in a window, adorn a special package, or become part of a homemade mobile. They also make lovely gifts for friends or family members.
From Dough to Delight: Learning and Growing with Salt Dough Ornaments
Making salt dough ornaments is more than a fun craft; it’s a hands-on learning opportunity. Siblings can practice their measuring and mixing skills when preparing the dough, and shaping the ornaments promotes fine motor skills and creativity.
Decorating the ornaments enhances color recognition and artistic skills, and the entire process encourages siblings to collaborate, share resources, and enjoy each other’s company.
Cherishing the Moments: The Lasting Impact of Salt Dough Ornaments
These seemingly simple ornaments can hold profound memories. Each crafted shape, each brushstroke of paint, is a testament to the moments shared between siblings during their crafting session.
Whether they’re hung on a tree, displayed on a mantle, or gifted to a loved one, these salt dough ornaments serve as a tangible reminder of sibling camaraderie, creativity, and the joy of making something from scratch. So why wait? Get the flour, grab the salt, and start kneading your way towards memorable creations.
👉>>>Check on AMAZON – Art & Crafts For kids!
9. DIY Bird Feeder
Inviting Nature Home: Building a DIY Bird Feeder
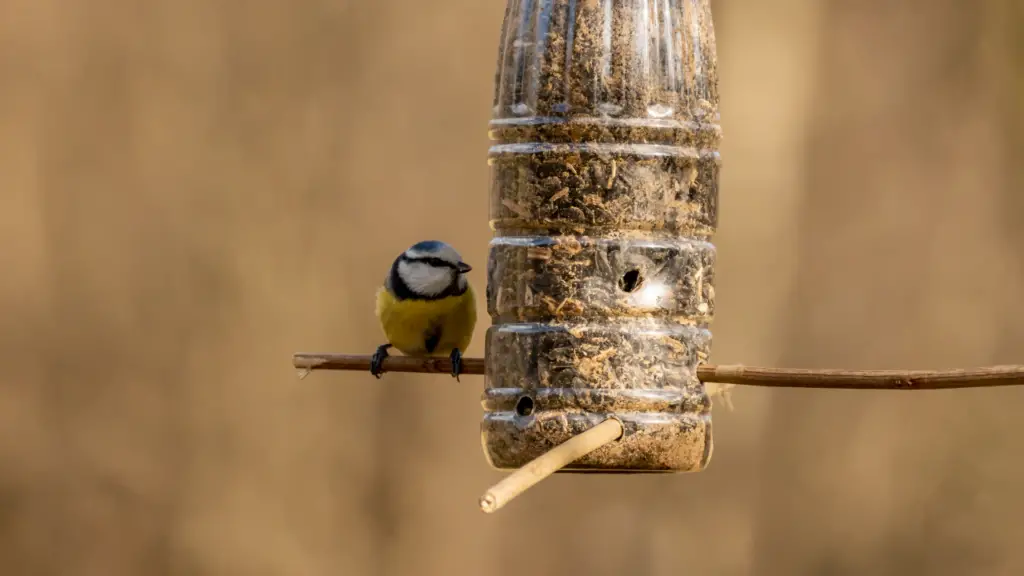
Creating a DIY bird feeder is an easy and exciting project for siblings to do at home. It’s a delightful way to invite a bit of nature into your backyard, and it provides a unique opportunity for bird watching and learning more about different bird species.
Gathering Materials: What You’ll Need for Your Bird Feeder
To build a simple bird feeder, you’ll need:
- A plastic bottle with a cap (like a soda bottle)
- Two wooden spoons
- A piece of string
- Scissors
- Bird seed
Becoming Engineers: Constructing the Bird Feeder
First, clean the bottle thoroughly and make sure it’s dry. Then, siblings can work together to create feeding holes. About four inches from the bottom of the bottle, make a hole large enough to slide a wooden spoon through. Repeat this directly opposite the first hole, so the spoon can go straight through the bottle.
A few inches above, repeat this process with the second spoon, positioning it perpendicular to the first spoon. The spoons will act as perches for the birds, and the seeds will spill out onto them through the holes.
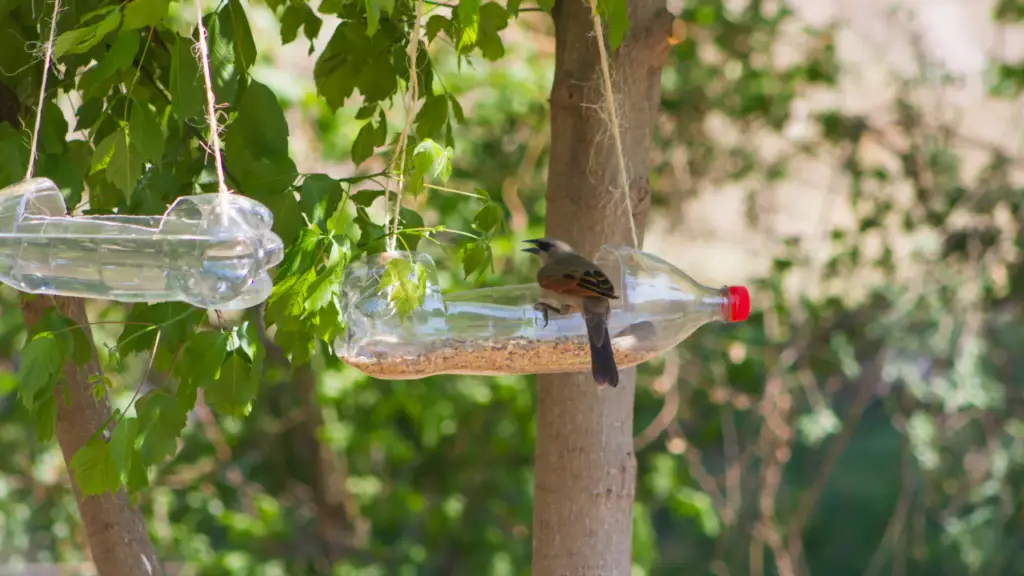
The top of the bottle can then be threaded with a string to hang it up. After filling the bottle with bird seed and securing the cap, your DIY bird feeder is ready to be hung outside!
Welcoming Winged Visitors: Observing the Bird Feeder
Once the bird feeder is up, siblings can enjoy watching the different birds it attracts. They can even keep a journal, noting down the types of birds they see, their behaviors, and their feeding times. This adds an educational component to the project, making it more than just a craft.
Beyond Building: The Values of a DIY Bird Feeder Project
Creating a DIY bird feeder offers a wealth of learning opportunities. Siblings collaborate on building the feeder, enhancing their teamwork and problem-solving skills. The process also teaches them about recycling and reusing materials, as they turn a simple soda bottle into a useful bird feeder.
Watching the birds use the feeder provides an introduction to bird species and their behaviors. Siblings can learn about the different birds in their area and develop an appreciation for nature and wildlife.
Feathered Friends: The Lasting Impact of a DIY Bird Feeder
Building a bird feeder and observing the feathered visitors can be a memorable experience for siblings. The DIY bird feeder becomes a point of shared interest, a subject of conversation, and a source of shared joy.
So, gather those materials and get started on your DIY bird feeder. The chirps and songs of your feathered guests will be the perfect reward for your effort.
10. Paper Mache
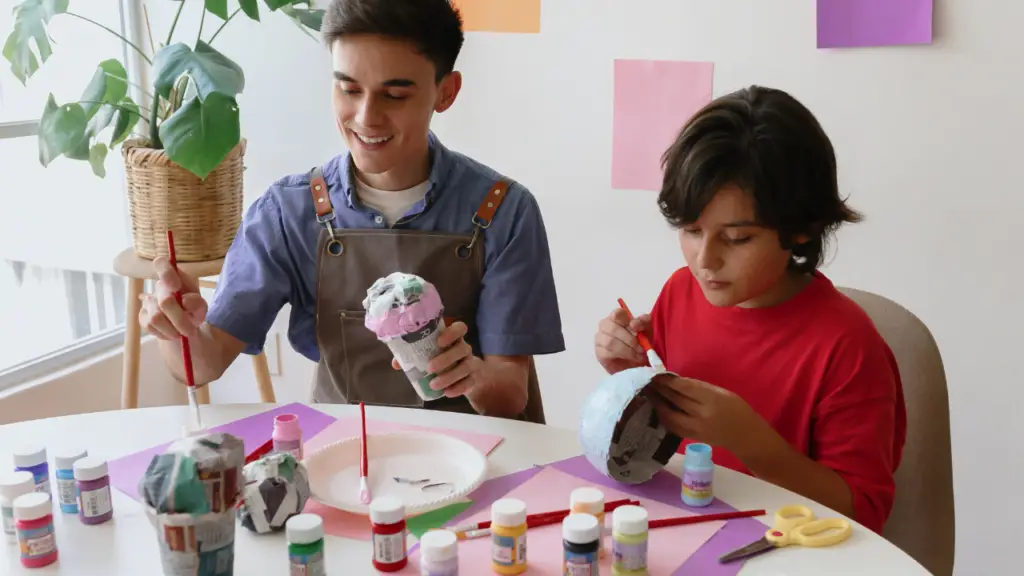
Shaping Imagination: Discovering Paper Mache
Paper Mache is an easy, affordable, and versatile craft for siblings to undertake at home. The process of molding wet strips of paper into three-dimensional objects is creatively satisfying, and the end results can be as simple or complex as you wish.
Gathering Your Tools: Paper Mache Supplies
Here’s what you’ll need to get started with paper mache:
- Newspaper
- Flour and water (for the paste)
- A balloon or another object to use as a base
- Paints for decoration
Stirring up Fun: Preparing the Paper Mache Paste
To create the paste, siblings can mix one part flour to one part water, stirring until the mixture is smooth. This is a non-toxic, safe paste ideal for this craft. If you’re looking for a stronger adhesive, you could use one part water to two parts white craft glue instead.
Layer Upon Layer: Creating Your Paper Mache Object
Once your paste is ready, it’s time to start crafting. Siblings can dip strips of newspaper into the paste, making sure each strip is thoroughly coated, and then place it onto their base, smoothing it out with their fingers.
By layering these pasted strips, they can gradually build up the shape they desire. It’s a fun, hands-on process that siblings can enjoy together, discussing their design and helping each other with the layering.
The Finishing Touches: Painting Your Paper Mache Creation
Once the object has dried completely (which can take a day or two), siblings can paint and decorate it as they wish. Whether it’s a vibrant, patterned mask, a miniature planet for a school project, or a cute animal sculpture, the creative possibilities are endless.
More Than a Craft: The Learning Behind Paper Mache
Creating paper mache objects is a great way for siblings to learn about shapes and structures. They develop fine motor skills as they handle the wet paper and apply it to their base. It also encourages patience, as each layer must dry before the next can be applied.
Moreover, paper mache projects can foster a sense of achievement, as siblings can create something substantial and visually pleasing from such simple materials.

Crafting Memories: The Lasting Impact of Paper Mache
Paper Mache crafts can provide siblings with lasting memories of shared creative experiences. They’re not just making an object; they’re constructing a shared memory, a story of creation that can be told each time they look at their finished work.
So, roll up your sleeves, prepare your paste, and delve into the joyful mess of paper mache. You’re sure to emerge with not just a beautiful creation, but a stronger sibling bond too.
Wrapping Up: A World of Creativity at Your Fingertips
So there you have it, ten easy arts and crafts for siblings to do at home, each promising a unique blend of fun, creativity, and learning. But this list is just the beginning. Each project can be a stepping stone to further exploration, sparking curiosity and fostering a love for creating.
Whether it’s the tactile joy of kneading homemade playdough, the mesmerizing transformation of a paper mache sculpture, or the satisfaction of watching birds flock to a homemade feeder, these activities provide more than just entertainment. They create unforgettable memories and nurture essential skills.
But remember, the value of these experiences is not only in the crafts themselves, but in the moments they create. The laughter, the friendly debates over color choices, the shared thrill of watching your projects come to life – these are the experiences that truly enrich the sibling bond.
So, don’t wait another moment. Gather your materials, choose your first project, and dive in. Let the shared joy of creation ignite your imagination and deepen your sibling connection. After all, the world is your canvas – what will you create today?
With these 10 easy arts and crafts for siblings to do at home, they can create, learn, and have fun together. So why wait? Let their creativity flow and see what masterpieces they can create!
👉>>>Check on AMAZON – Art & Crafts For kids!


Pingback: Big Brother and Little Sister Bonding activities Ideas - SiblingVibes